
How to Set a Post in the Ground Like a Pro: Quick Tips
Published: 13/05/2025 | Updated: 13/05/2025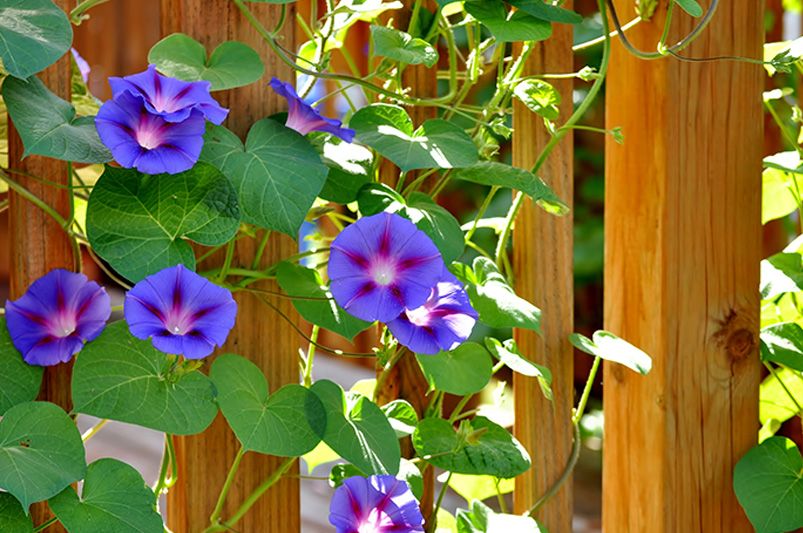
Key Highlights
-
Understanding different types of posts, such as wooden and metal fence posts, ensures you choose the best option for your project.


-
Preparing for post-setting involves gathering essential tools like a post hole digger, shovel, and wheelbarrow while identifying nearby utility lines for safety.
-
Properly marking the ground, digging a hole, and securing the post with materials like concrete mix or gravel base guarantees long-lasting results.
-
Key safety measures like avoiding utility line damage and wearing protective gear are crucial to avoid accidents.
-
Following step-by-step instructions for setting fence posts provides additional stability and ensures they stand the test of time.
Introduction
Installing a fence post the right way is very important for making it strong and stable. This guide from ShrubHub's landscape design team makes setting posts easier for you. Whether you are putting in wooden posts or metal ones, knowing the basics helps you succeed. Even though it is DIY-friendly, feel free to get expert help for tough areas or corner posts. With good preparation and careful work, you can build a strong and lasting fence.
Understanding the Basics of Post Setting
Getting your fence posts firmly in the ground is more than just digging a hole. You need to make sure your fence is strong enough to handle weather and stress. Things like soil type, freeze-thaw cycles, and high winds can affect how deep the posts need to be and how stable they will be. For example, if the soil is sandy, you might need to dig deeper. If the area has rocky ground, you may need to use different methods to anchor the posts.
It’s also very important to follow local building codes. This helps avoid problems with your neighbors or possible fines. Be sure to think about property lines and rules while planning. When you set the posts correctly, it helps your outdoor space look good and work well. Now, let’s look at the types of posts you can choose for your fencing needs.
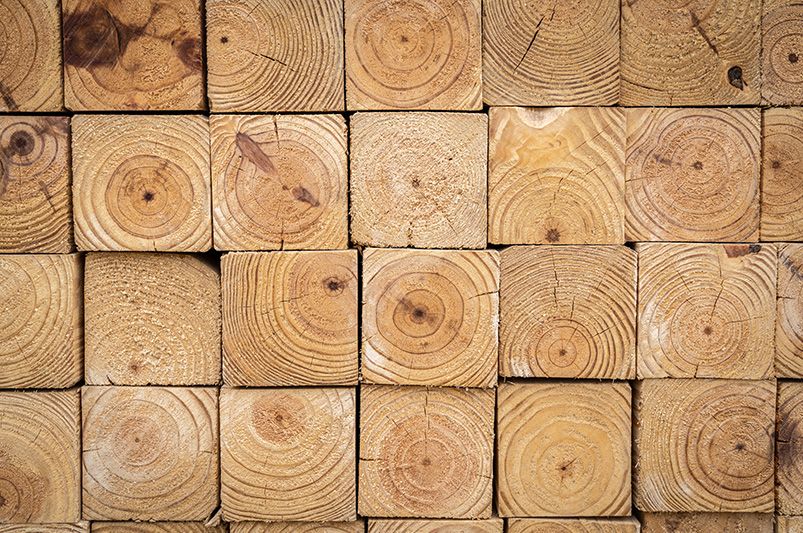
Types of Posts and Their Uses
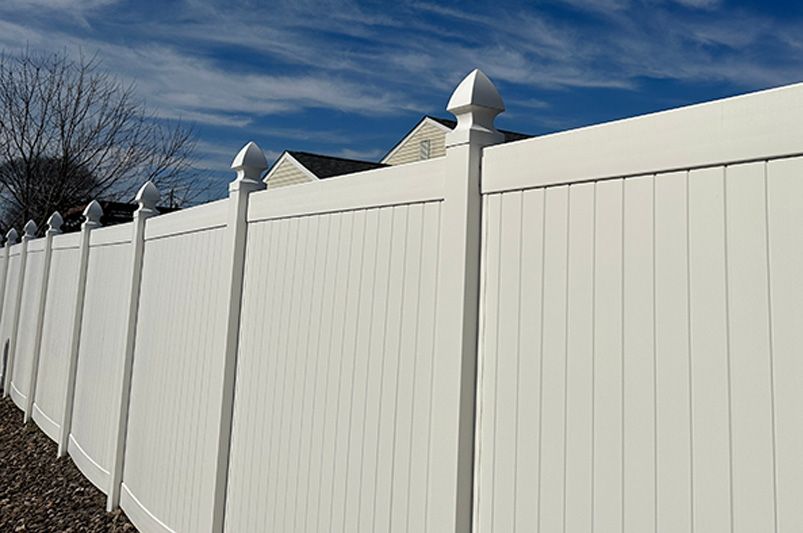
Posts come in different materials, and each has its own benefits. If you want a natural look, wood fence posts are a great choice. They blend well with gardens and landscapes but need regular upkeep to prevent rot. Vinyl fence posts are a good option too. They require little maintenance, do not splinter, and resist decay, making them perfect for people wanting long-lasting durability.
If you care about strength, consider metal fence posts made from aluminum or steel. These posts won't rust and are very sturdy, even in harsh weather. Each type goes well with certain fencing styles or fits different climates.
When picking the right post, think about what you need the fence for—whether it’s for privacy, establishing property lines, or just for decoration. Knowing these uses will help you choose the right material that works well and looks good, making sure it installs easily.
Choosing the Right Material for Your Post
Your choice of material is very important for how long and well fence posts will last. Wooden posts look nice, but they need good drainage to stop them from rotting. If you work in a wet area, think about sealing them with a water-repellent.
The size and height matter too. The size of the fence post should meet your needs, like using corner posts for taller fences that need more support. A bigger diameter means a stronger post.
If your area has a lot of rot or strong winds, metal or vinyl posts may be better. Both of these materials provide strong installation, but you should consider the soil type. A well-prepared post will be strong and last a long time, as we’ll explain in the next steps.
Preparing to Set a Post
Before you set your post, good preparation makes sure it’s done right and lasts longer. First, find out where the utility lines are located underground. You should call companies to mark them so you do not cause any damage while digging. Next, get the tools you need, like a post hole digger, shovel, and wheelbarrow to mix concrete.
Gather materials, such as gravel and quick-setting concrete, for the final steps. With these preparations done, you are ready to have a smooth time when you start the installation.
Tools and Materials Needed
Having the right tools makes putting up a post easy. A post hole digger helps you make holes that are the right depth and diameter. You will also need a shovel to clear away loose soil. A tamper is important for packing down the gravel at the bottom of the hole.
Durable materials are key too. Make sure to have concrete mix for good support, crushed gravel for drainage, and wooden stakes for marking. A wheelbarrow is very useful for mixing and moving materials.
Don’t forget about safety gear like gloves and protective eyewear. These items keep you safe while you work. Good tools and materials help make putting in posts easier and add extra stability.
Safety Measures Before Beginning
Safety should come first when putting in posts. First, check for any utility lines under your yard. You can do this by contacting your local service provider or calling 811 to have gas or electric lines marked before you start digging. This helps you avoid harming important underground systems.
Always wear protective gear, like gloves, when working with concrete mix and gravel. Good shoes can keep you safe while using tools. Pay attention to the area around you to make sure your work zone is safe for everyone.
If you are working on uneven ground or sandy soil, be careful to avoid accidents. Simple steps, like bracing posts before you set them, can ensure your installation goes well.
Step-by-Step Guide to Setting a Post
Following a clear process for setting posts helps them stay strong and last longer. Start by marking the ground so the posts align correctly. Once you have the layout, dig the holes to the right depth, keeping the soil type in mind.
Next, it's important to prepare the posts. Make sure the width and height of the post fit your needs. After placing the post in the hole, line it up and secure it well. You can use a concrete mix or a gravel base for better drainage and to make it tight. This guide breaks down each step so it's easy to follow.
Step 1: Marking the Ground
Marking the ground is the first step to set a strong post. First, find the ground level where the posts will go. To keep things straight, use wooden stakes and a string line to outline the fence layout.
Make sure to note the center of the hole for each marker. Good measurements are very important, especially for post spacing, which is usually 6 to 8 feet apart for residential fencing. Check your markings again to save time when you start digging.
Being precise helps make sure the fence stays balanced, even with any changes in the ground. Once the ground is marked, you can move on to the next important step: digging.
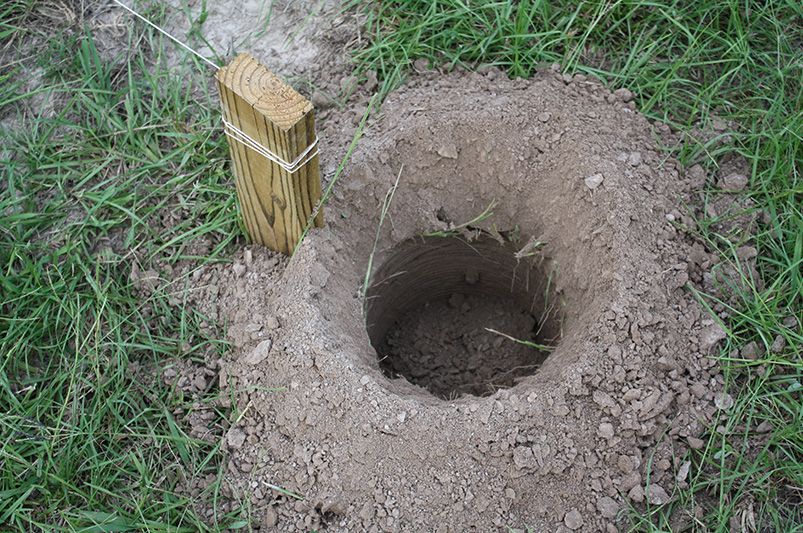
Step 2: Digging the Hole
Digging a post hole needs careful work. Use your post hole digger or power auger to get to the right depth. Usually, this includes one-third the height of the post and adds an extra 6 inches for a gravel base.
The depth of the hole must fit the soil type. In places with strong winds or where the ground freezes and thaws, deeper holes give more support. The diameter of the hole should be three times the width of the post to hold it properly.
After digging, take out loose soil to make a clean bottom of the hole. This helps keep the post stable. Now, the hole is ready for placing the post.
Step 3: Preparing the Post
The preparation phase is about the post itself. First, check the length of the post. Make sure it matches the height above ground level and the depth of the hole. If needed, trim the width of the post to ensure it fits snugly.
If you're using wooden posts, apply water-repellent sealants. This helps stop rotting from moisture in the soil. Metal posts may need rustproof coatings, especially in areas where they could get damaged.
Good preparation makes the structure strong. It also gets the post ready for stable placement and lasting durability. Now, you are set for the important placement step.
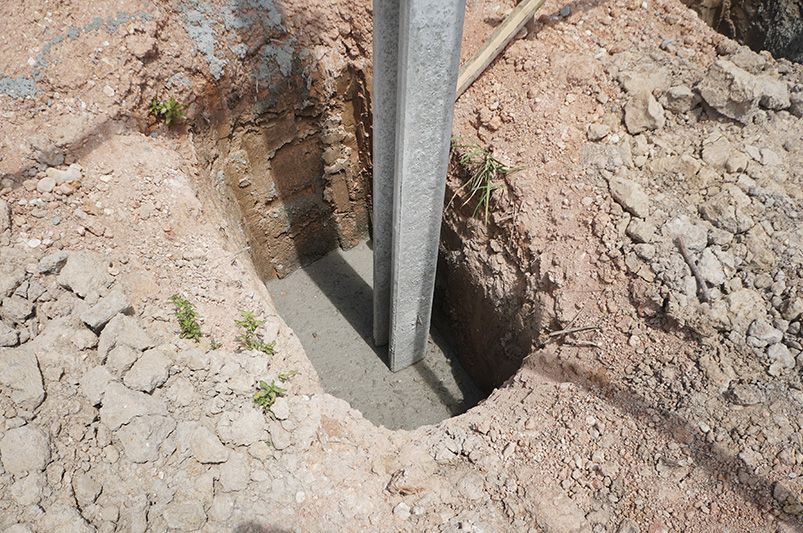
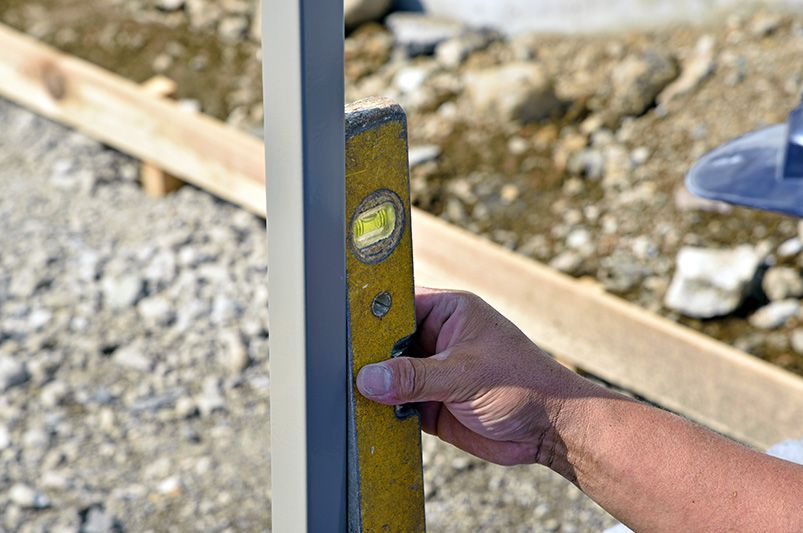
Step 4: Placing the Post in the Hole
Position the post at the bottom of the hole. Make sure it stands straight and plumb. Use a level on the sides of the post to check its alignment before you secure it. If you have tall fences or corner posts, use temporary supports to keep them from shifting while you set them up.
Check that the side of the post is in the center of the hole. This step is important for even distribution of weight once it's installed. Adjust the post height to keep everything uniform across all setups.
With tools like braces and markings ready, the post is set to be secured with stabilizing materials.
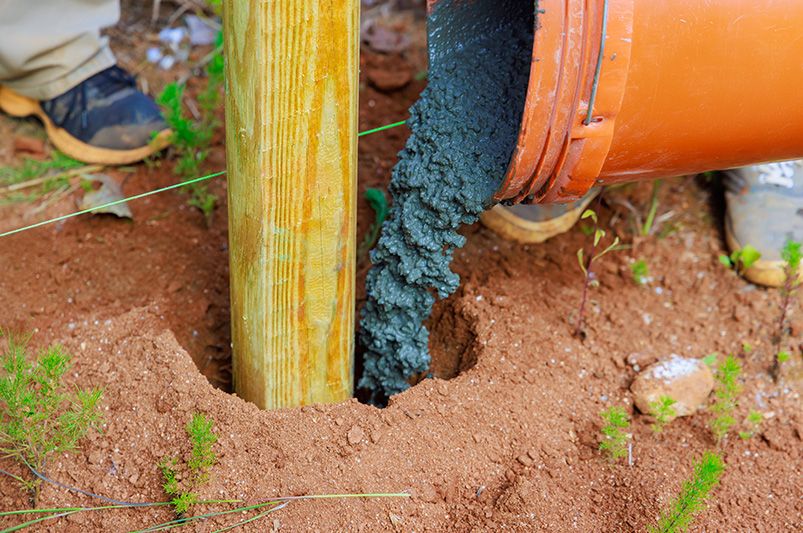
Step 5: Securing the Post
To keep the post stable against winds and soil shifts, it's important to secure it well. First, put a gravel base underneath the post for proper drainage. Then, add concrete mix around the post. Make sure the concrete fills all the gaps. To prevent air pockets, tamp down the mixture firmly.
Here’s how the materials compare:
|
Material |
Purpose |
|---|---|
|
Gravel Base |
Promotes water drainage |
|
Concrete Mix |
Provides strength and stability |
|
Expanded Foam |
Great for rocky terrains |
Compact the area every 6 inches. Ensure the slope directs water away from the post. Let it cure for at least 24 hours to work effectively.
Conclusion
Setting a post in the ground can seem hard, but with the right tools and methods, you can get great results. Choose the right materials and always keep safety in mind while you work. Marking the ground and securing the post are important steps for making it strong and lasting. Once you learn these methods, you'll feel more skilled and finish your projects with ease. Whether you're building a fence, deck, or garden trellis, using these tips will help you succeed. If you liked this blog, please share it on social media so others can enjoy it too!
Frequently Asked Questions
How deep should the post be set?
The depth of the post depends on things like the type of soil and the height of the fence. A good rule is to dig down one-third of the height for areas with high winds or clay soils, which means digging 30 inches for regular posts. If you're in sandy soil or have taller fences, you should dig a little deeper to make sure it stays strong.
What is the best material to fill the hole?
A mix of concrete and gravel helps with good drainage and keeps posts stable. Concrete adds strength, especially in clay soils. Gravel provides a base that fights water retention. Pick your materials based on the type of soil and the weather conditions.
How long does it take for the setting to stabilize?
Fast-setting concrete helps to secure posts in just 24 hours. This means they will be firm quickly. For the best stability, complete curing should take about 48 hours. It is important not to adjust the posts during the time they are curing. This will help keep them well-aligned for a long time.
Can multiple posts be set at the same time?
Yes, posting several times at once is a smart choice for bigger projects. Remember to focus on corner posts and taller fences since they need extra support. Use even alignment to keep the spacing and look consistent during the installation.
Need Assistance for a Complete Landscape Makeover?
Shrubhub’s landscape design packages can significantly transform the lives of homeowners by delivering customized, professional landscaping plans tailored to their unique space and personal style. With the ease of online collaboration, you are guided step-by-step through a design process that fundamentally reshapes your outdoor environment. The result is an aesthetically pleasing and functional outdoor living area that maximizes the potential of your property.